UPI QR codes on invoices
Save your UPI ID once, and every invoice with money due shows a UPI QR code for the exact amount. Clients tap I’ve paid, and you check the money arrived.
Clients pay straight into your own UPI ID. Bliss never holds the money and charges nothing for it.
Set it up
- Open Settings and choose Online payments. Only an owner can change it.
- Type your UPI ID and the Name clients see, as it appears on the account.
- Choose Save UPI details.
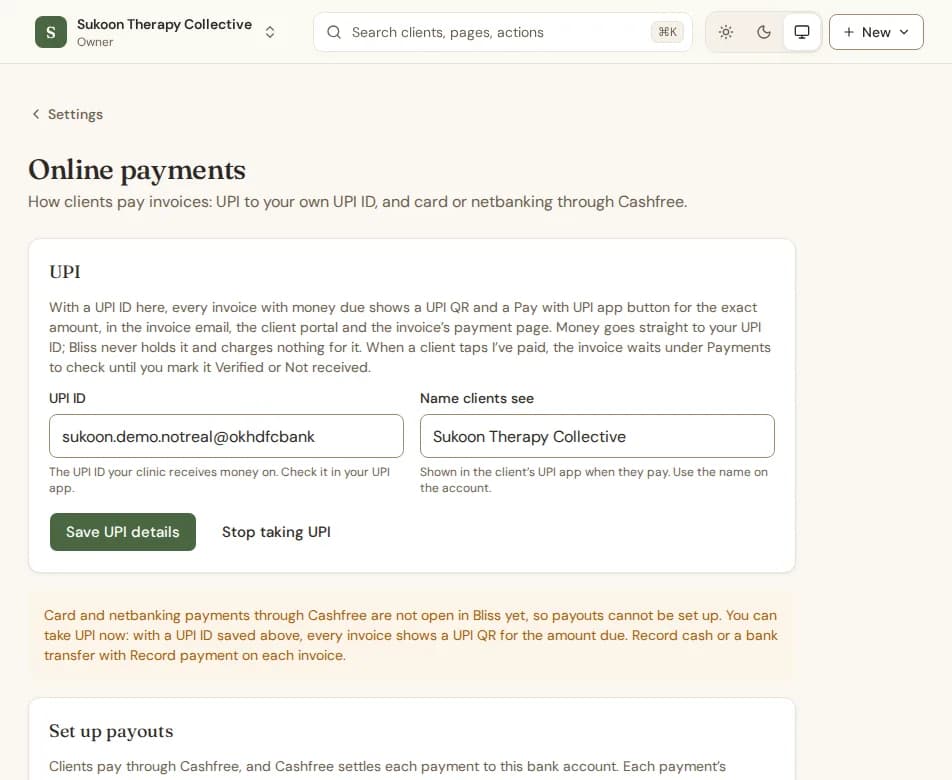
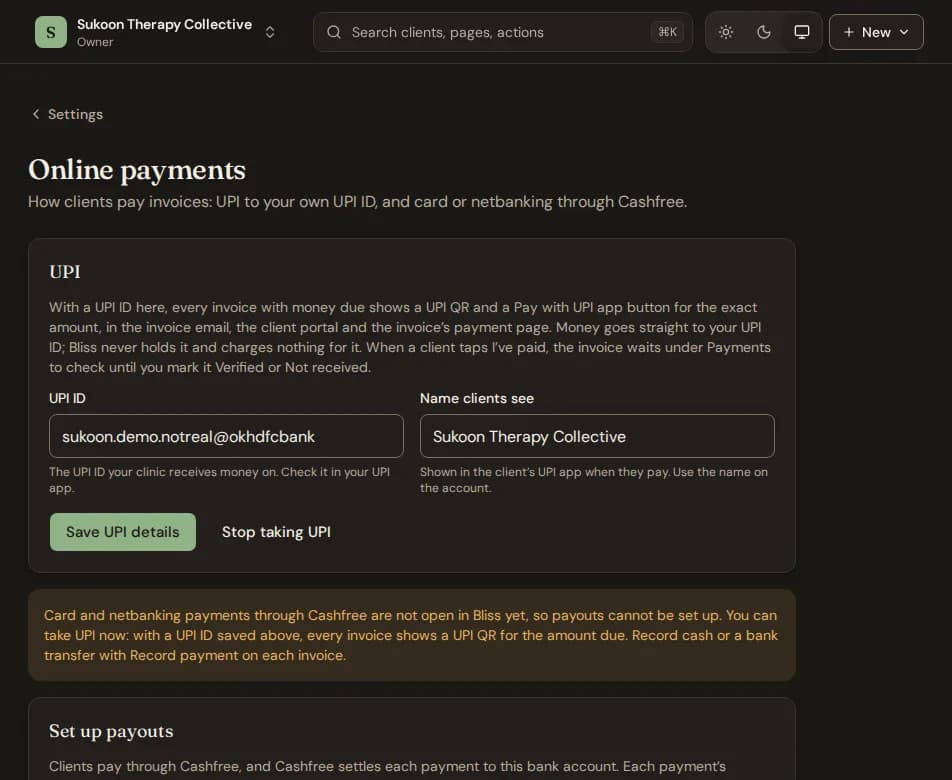
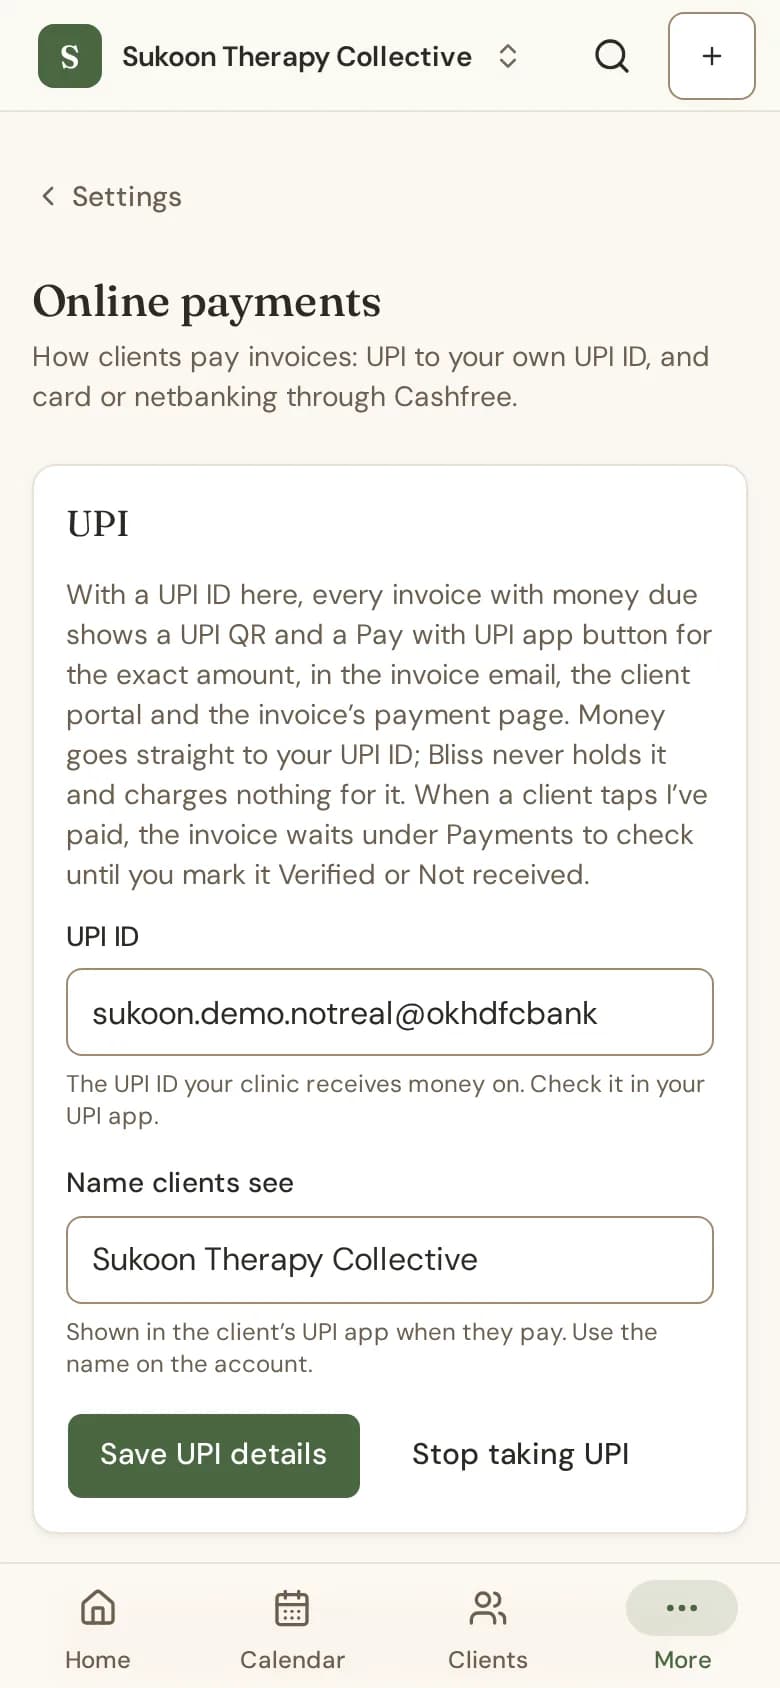
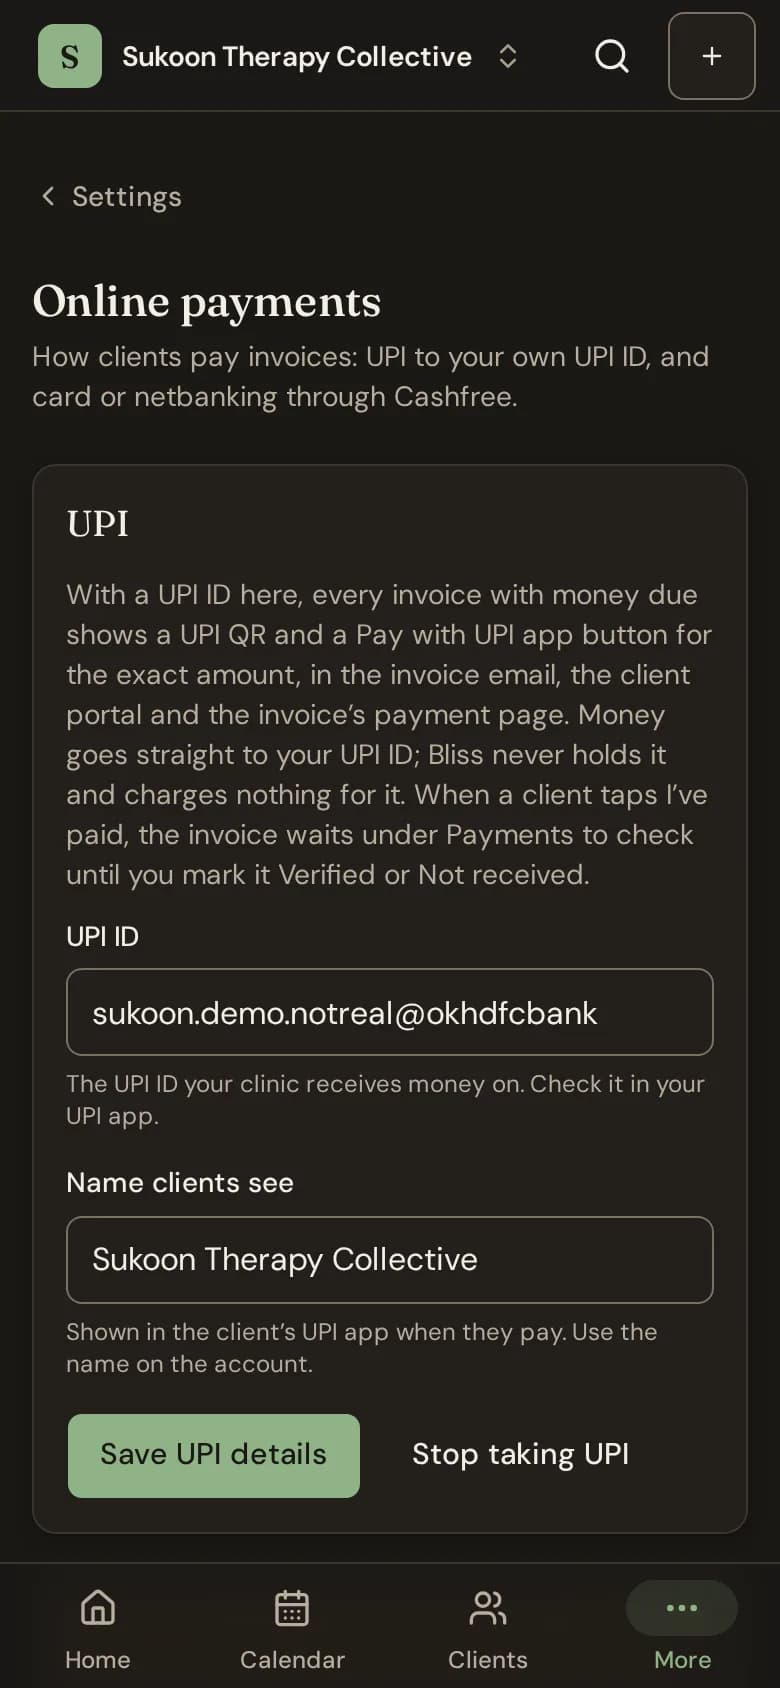
To stop, choose Stop taking UPI.
What clients see
Every invoice that still owes money shows a UPI QR code and a Pay with UPI app button for the amount due: in the invoice emails, in the client portal and on the invoice’s payment page. The amount and the invoice number are filled in.
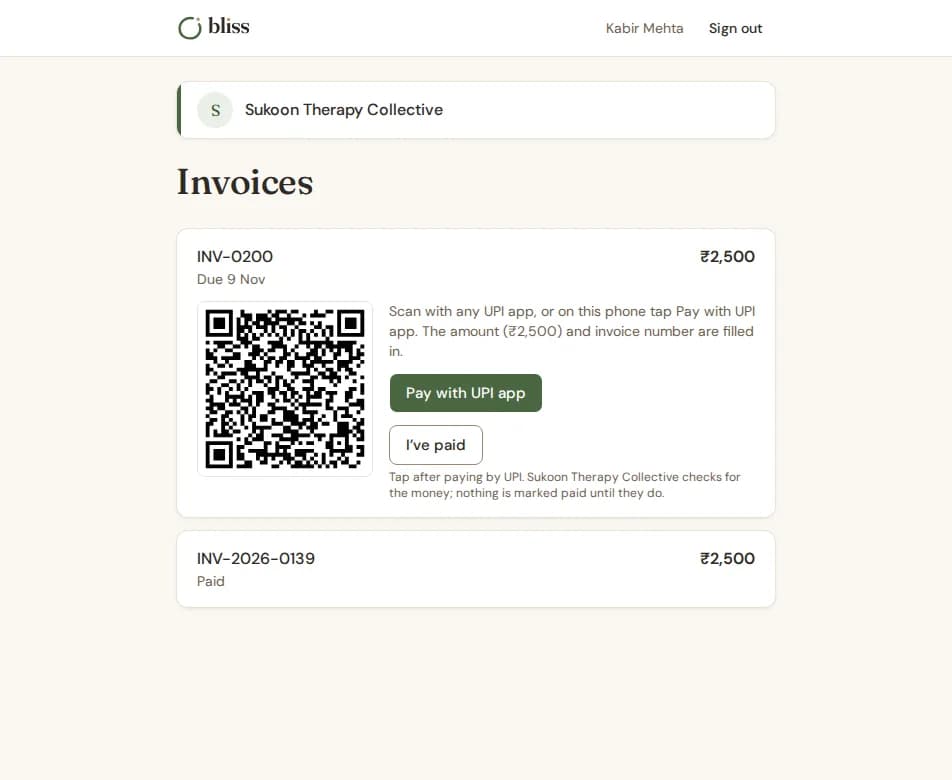
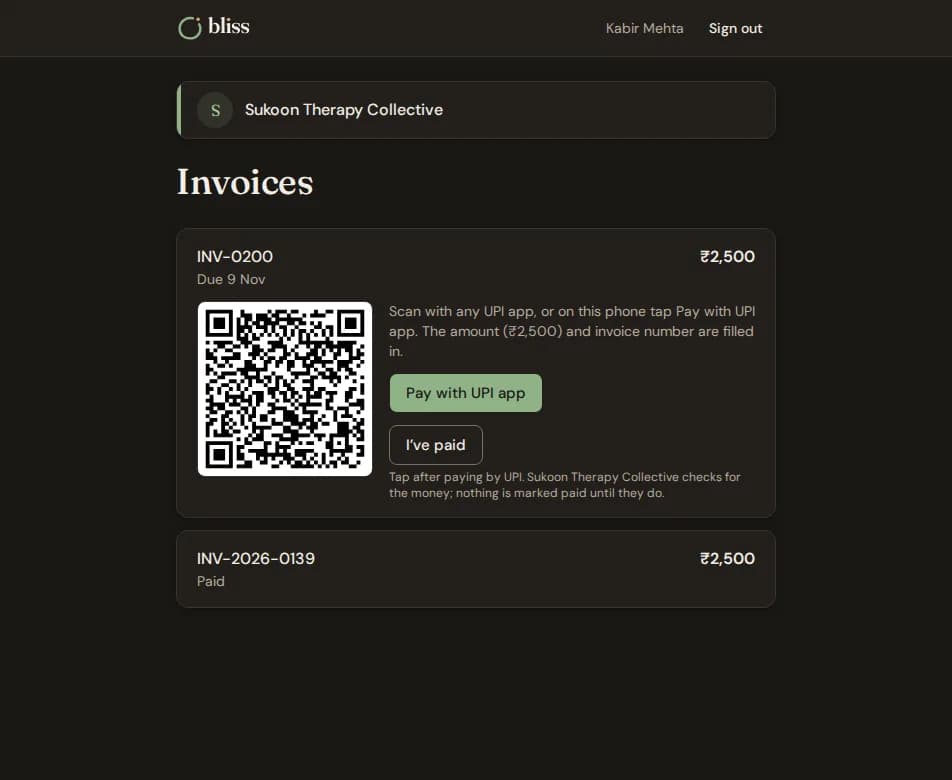
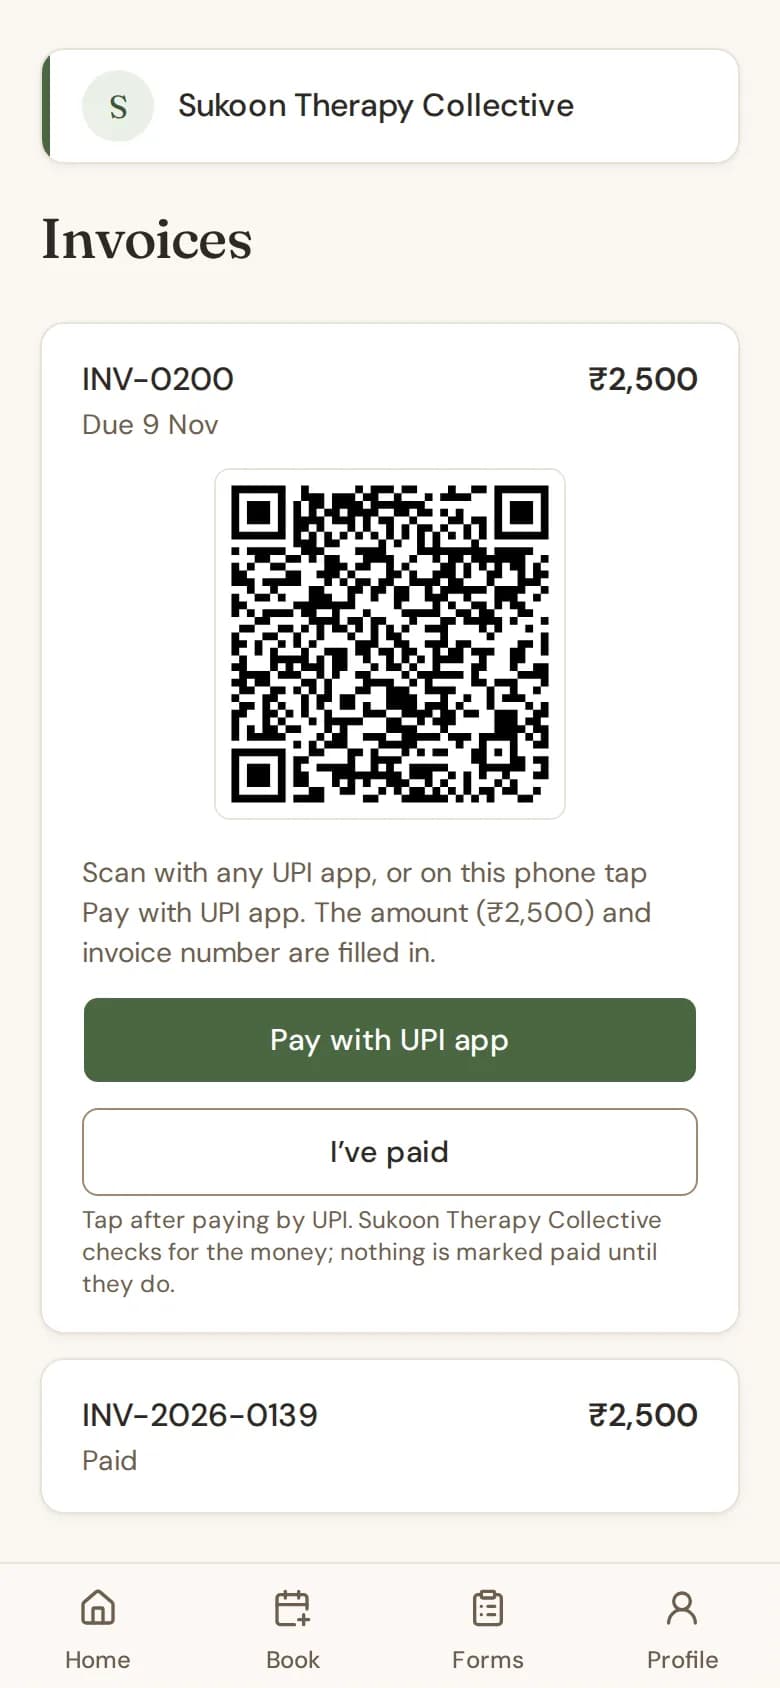
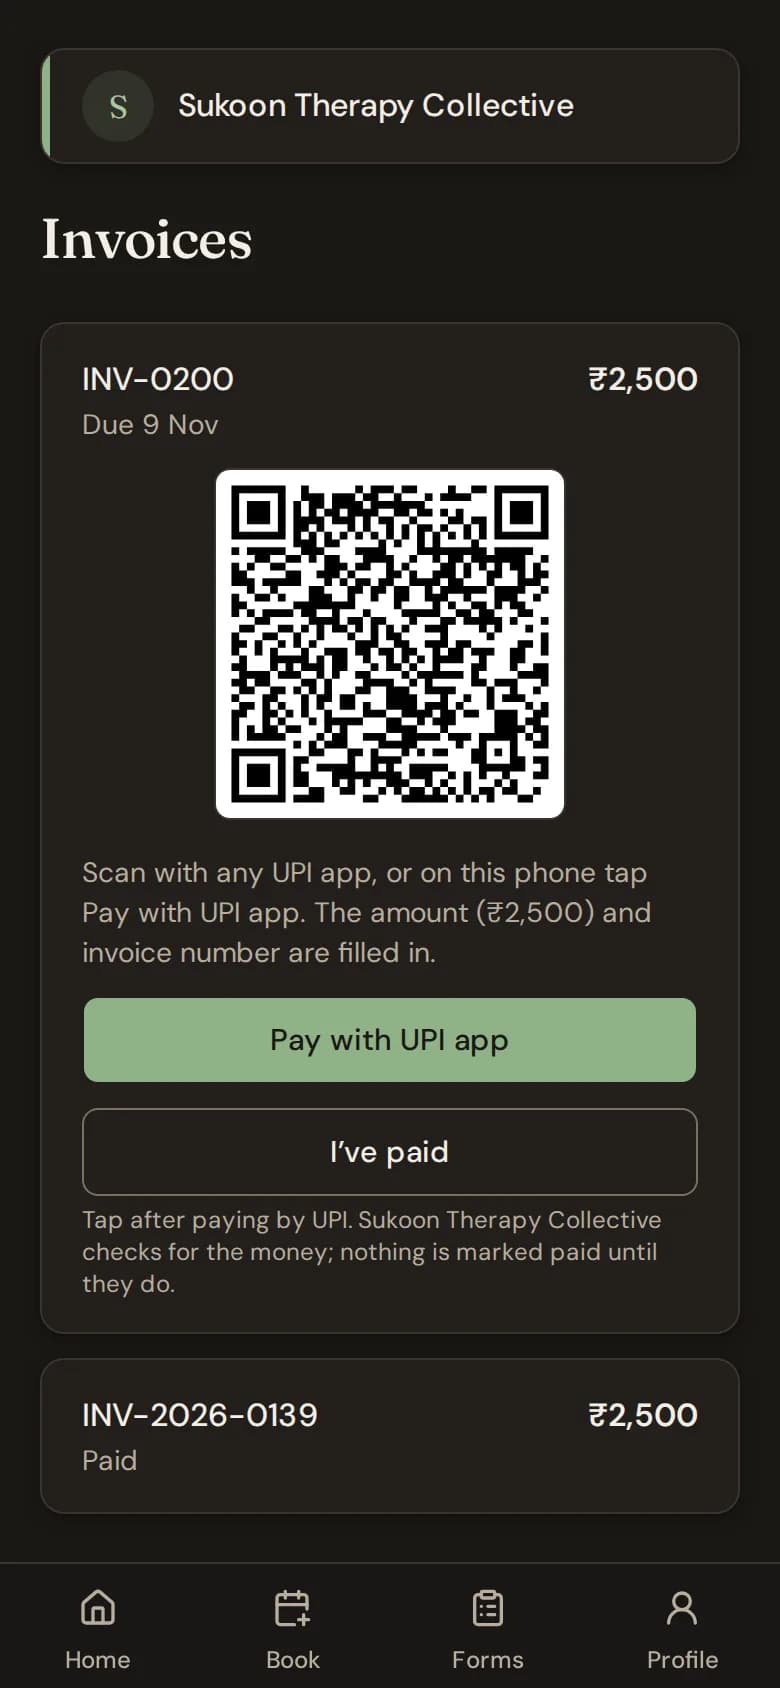
After paying, the client taps I’ve paid. Nothing is marked paid yet: the invoice reads Payment being checked until someone at your clinic checks.
Check the payment
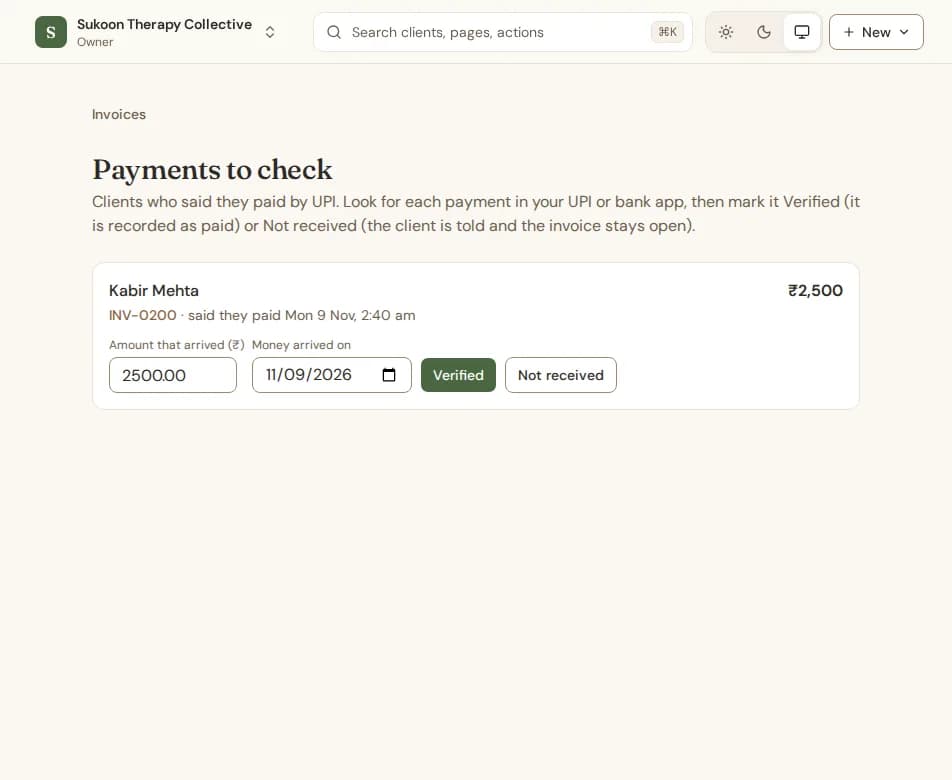
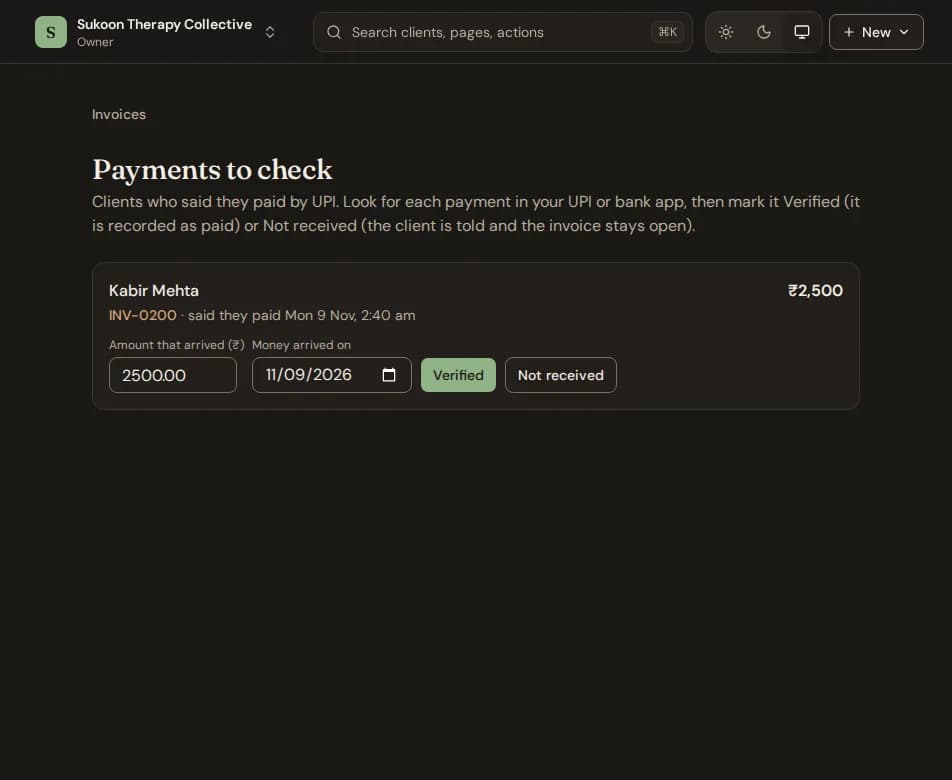
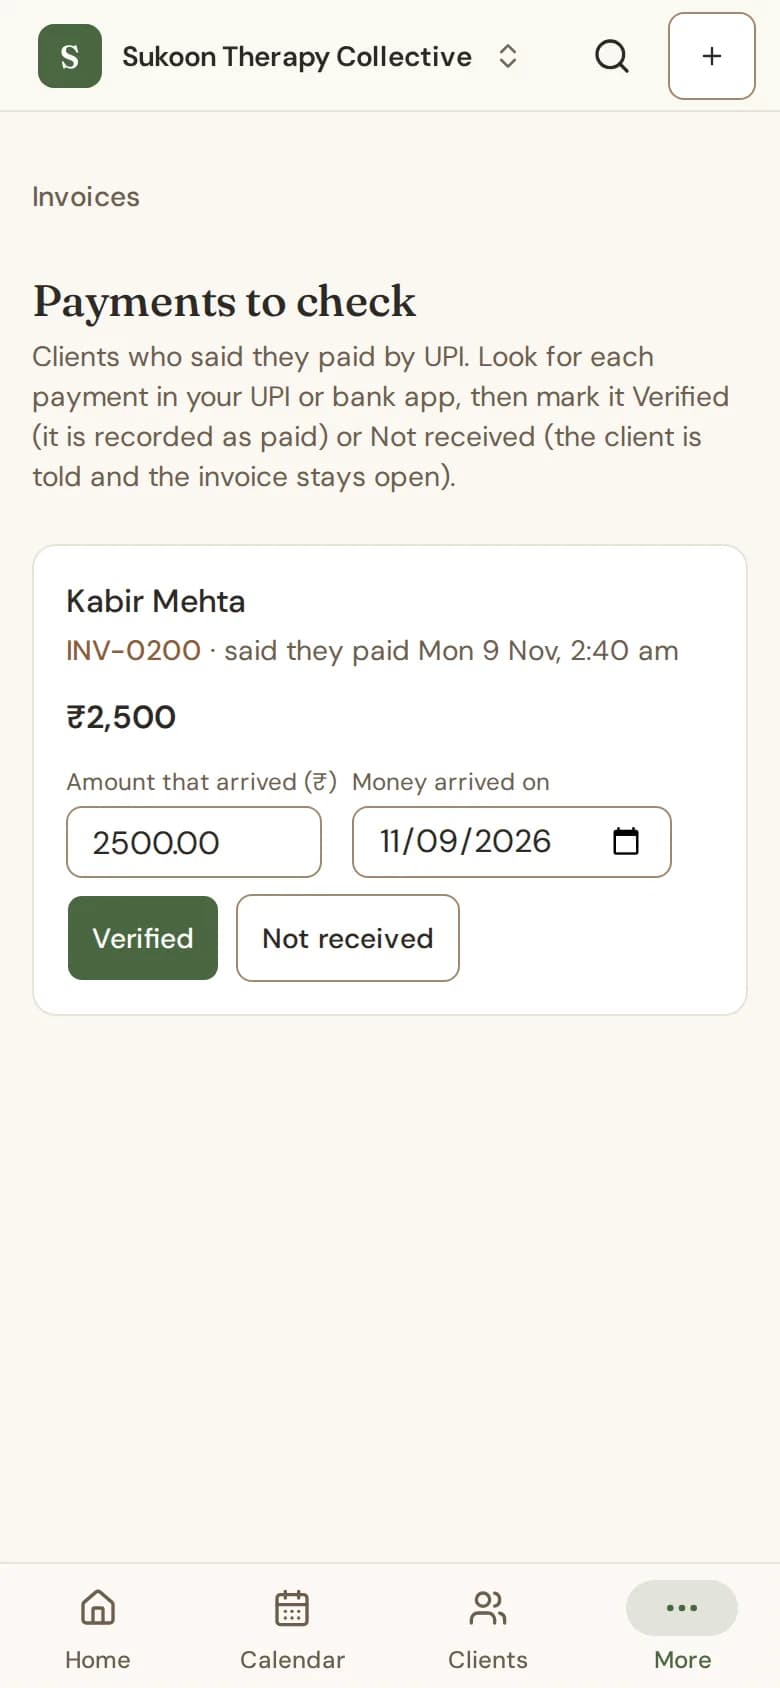
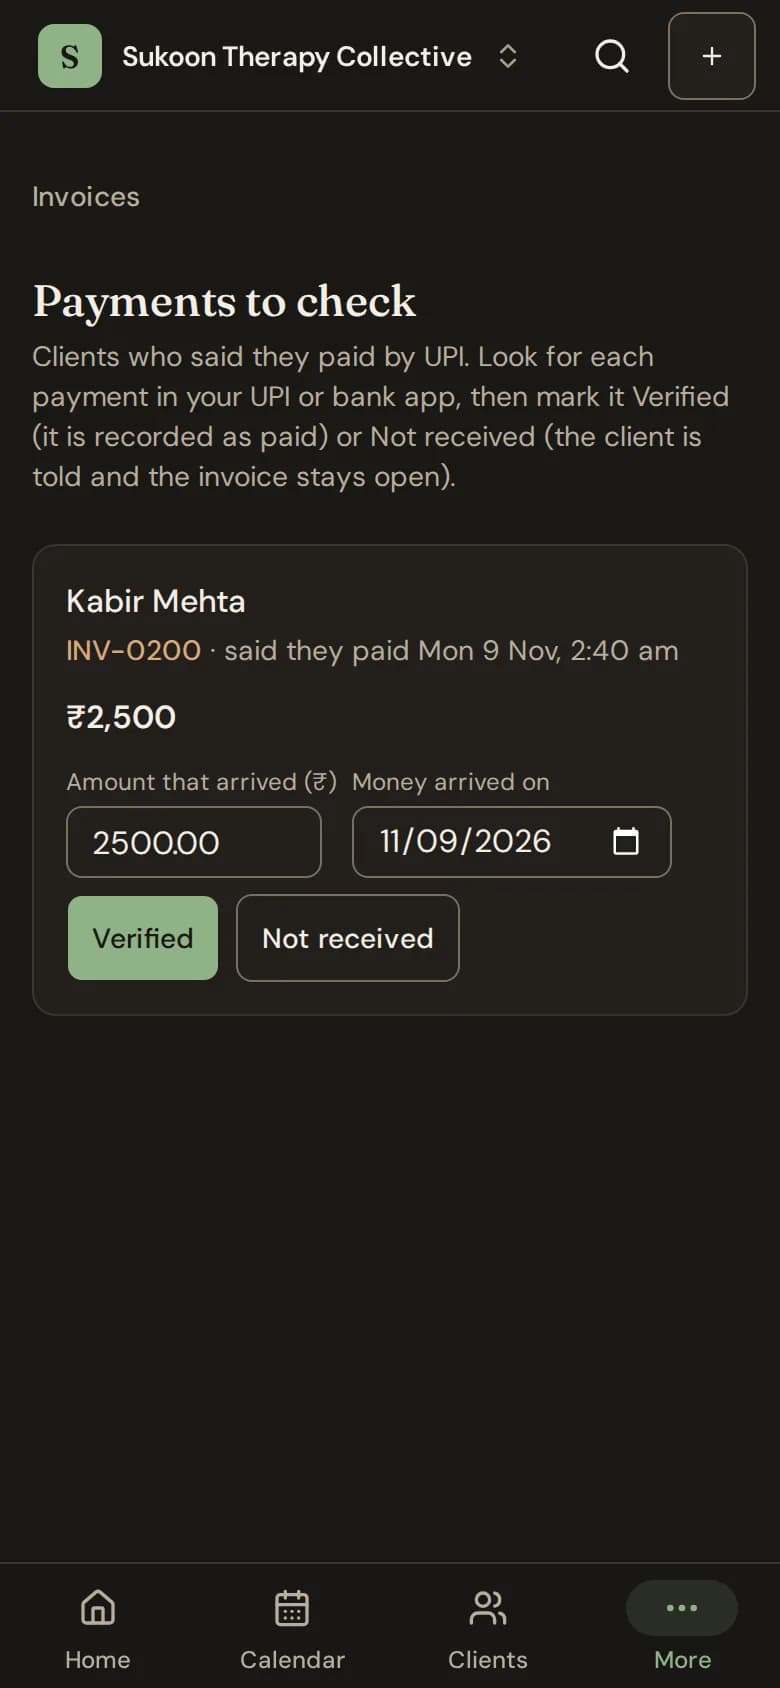
- Open Invoices and choose payments to check, or Check payments on Home.
- Look for the money in your UPI or bank app.
- Choose Verified to record it as paid, or Not received to tell the client and keep the invoice open.
- Owners and admins can check payments. To let someone else, give their role Check UPI payments clients say they made. See Roles.
- Verified records a UPI payment on the invoice, as Record a payment does. If a different amount arrived, change it first; only someone who manages invoices and payments can.
- While an I’ve paid is being checked, the invoice cannot be voided or credited.
Still stuck? Contact us and tell us what you were trying to do.